Hornady Bullet Feeder Review Part 1. PART 2 added post 2
Jun 24, 2014 11:14:46 GMT -5
krwada likes this
Post by gws on Jun 24, 2014 11:14:46 GMT -5
Basic Hopper mounted temporarily on its stand. Not my reloading bench, but a perfect spot to sort it out and work out the kinks.

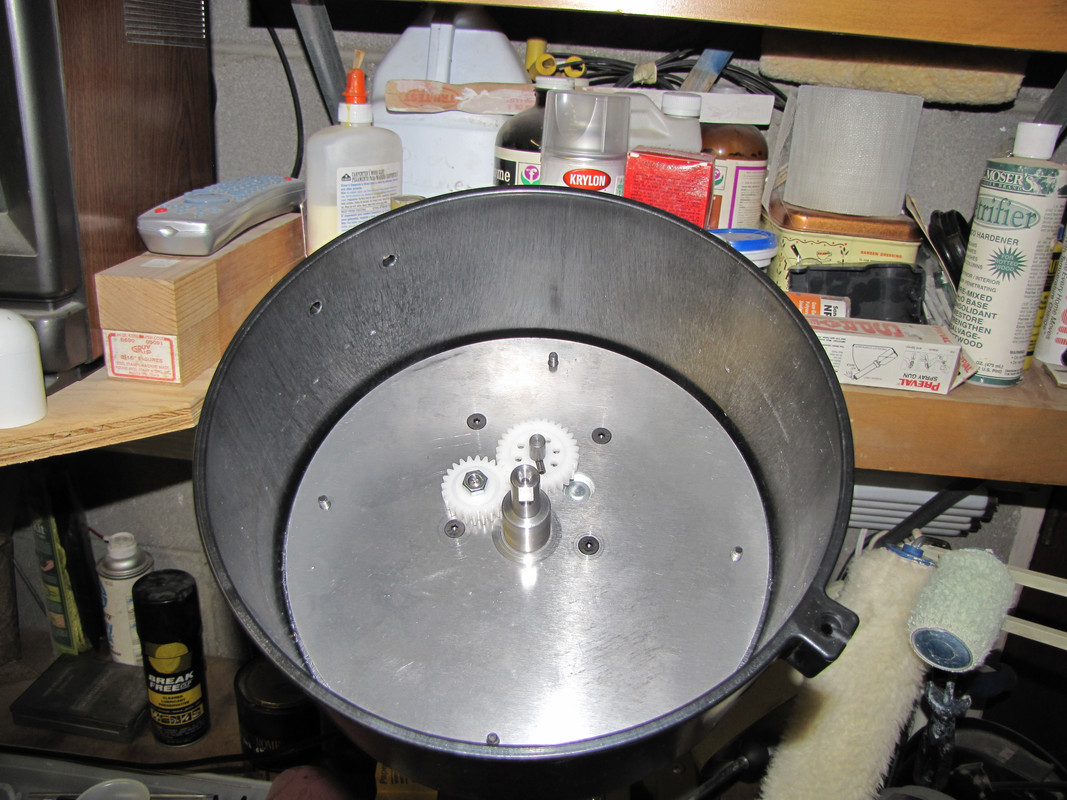
Hopper with the Turning Plate and the Pistol Bullet Feed Wheel removed. Notice the center spindle...mine arrived loose...it took me a while to realize is wasn't supposed to rotate. You tighten it by screwing it in...duh. Make sure yours is tight or nothing works right.
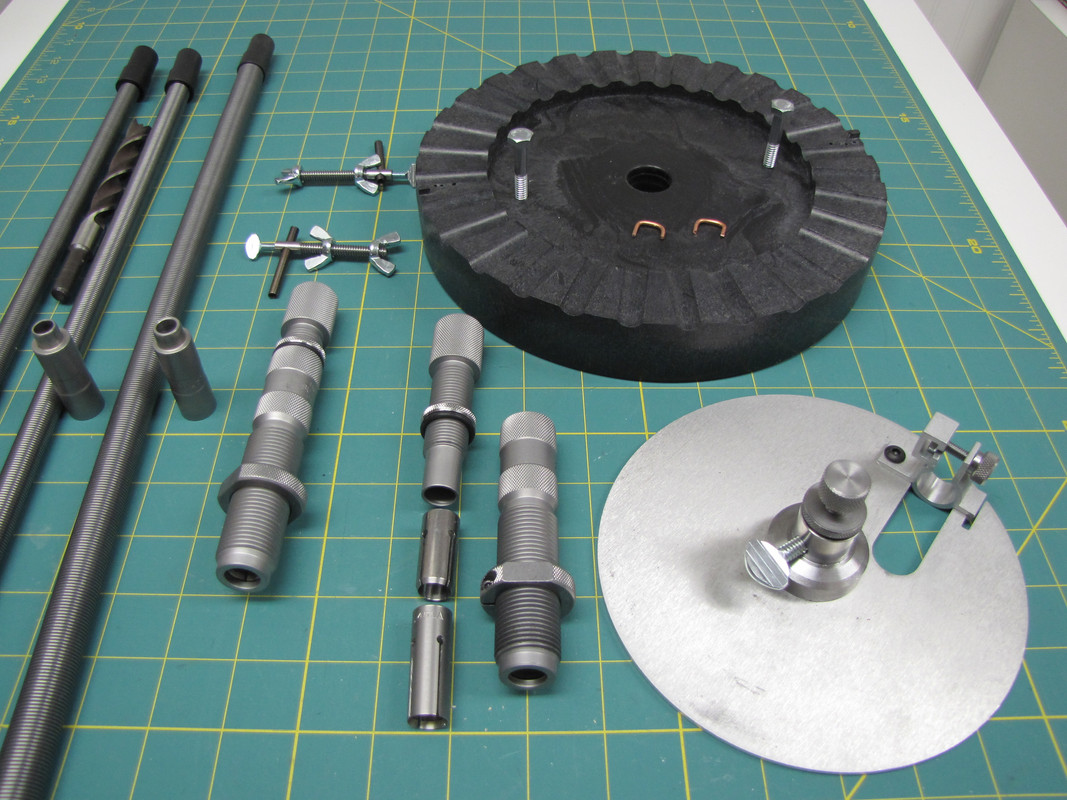
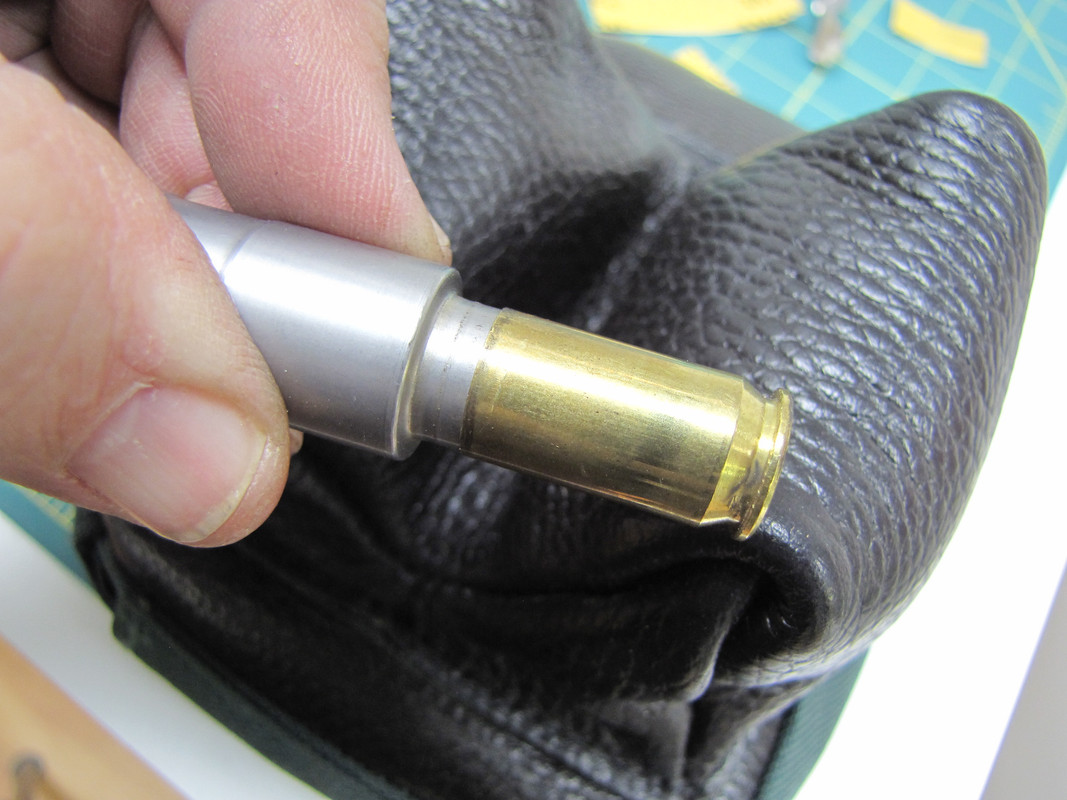
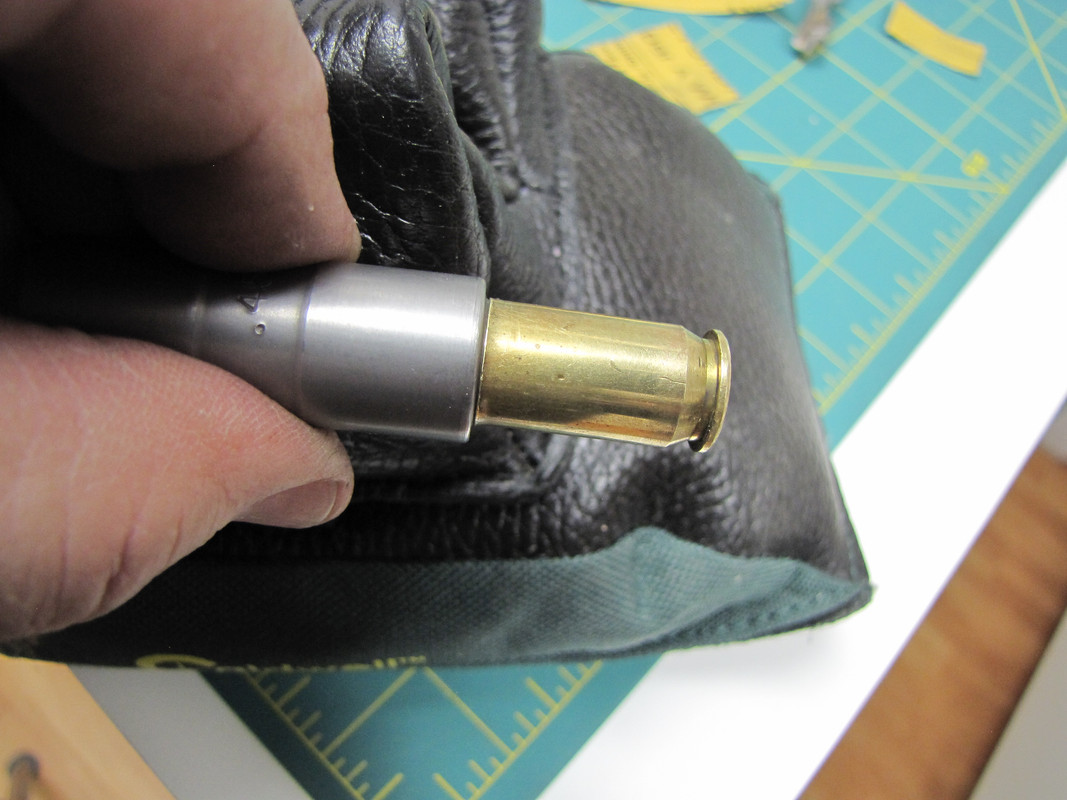
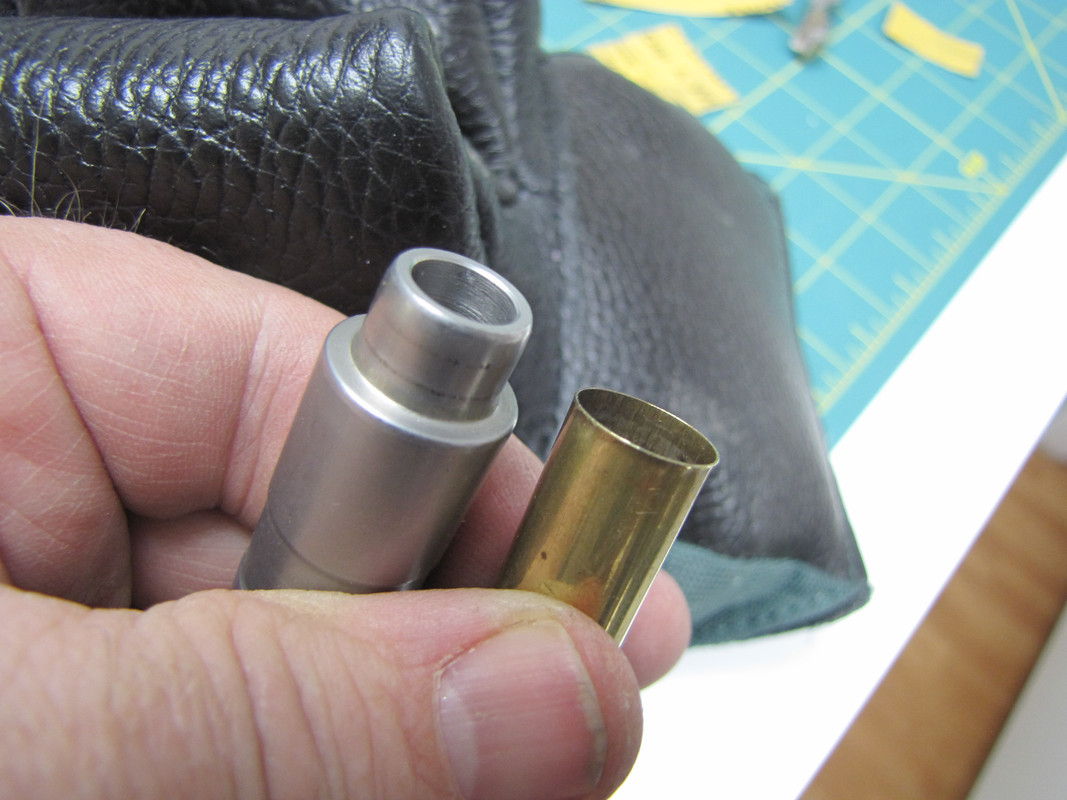
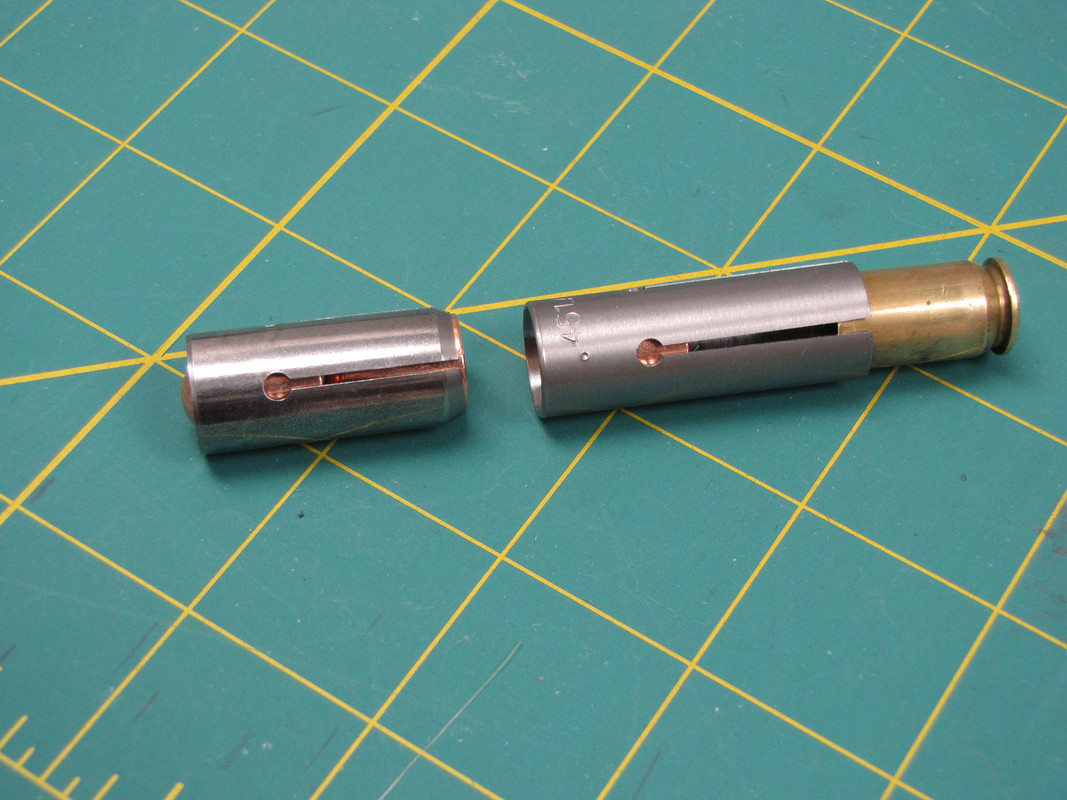
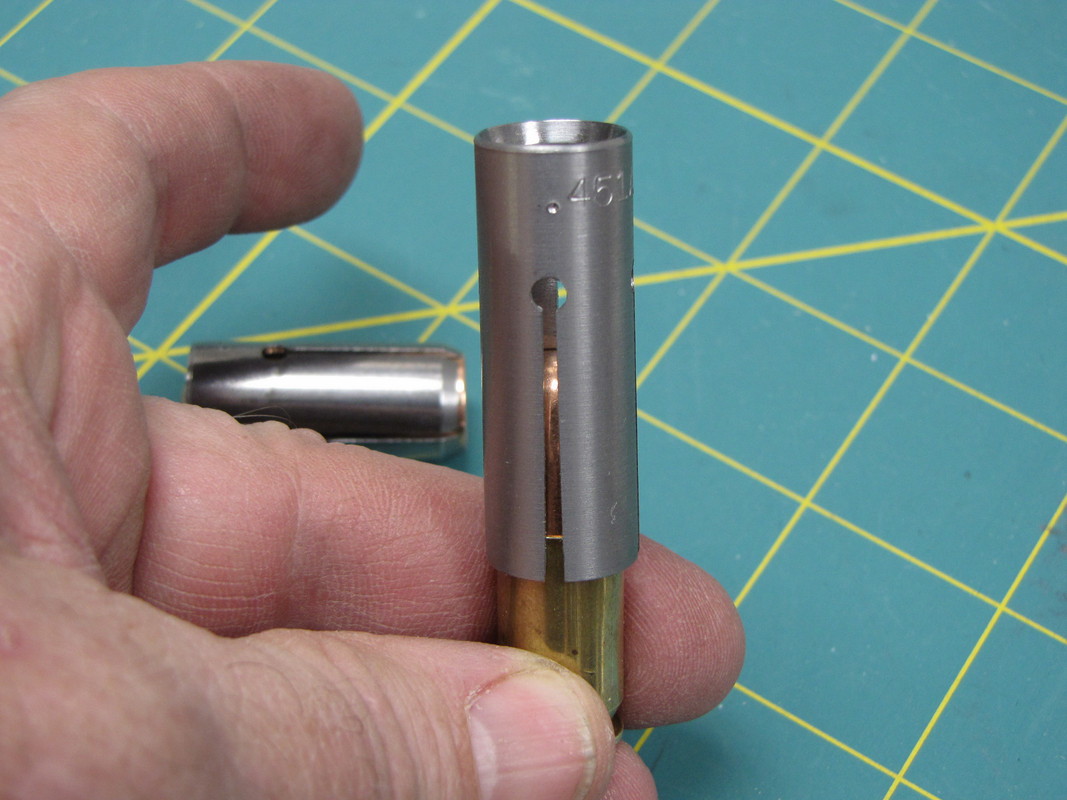
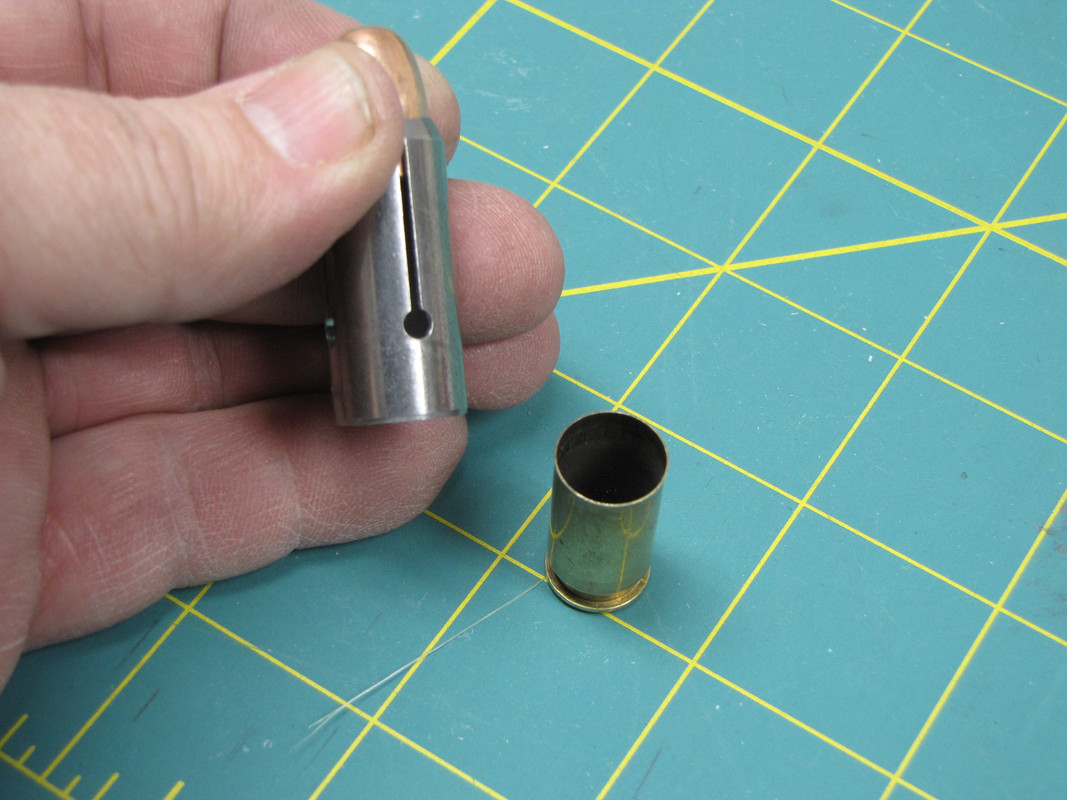
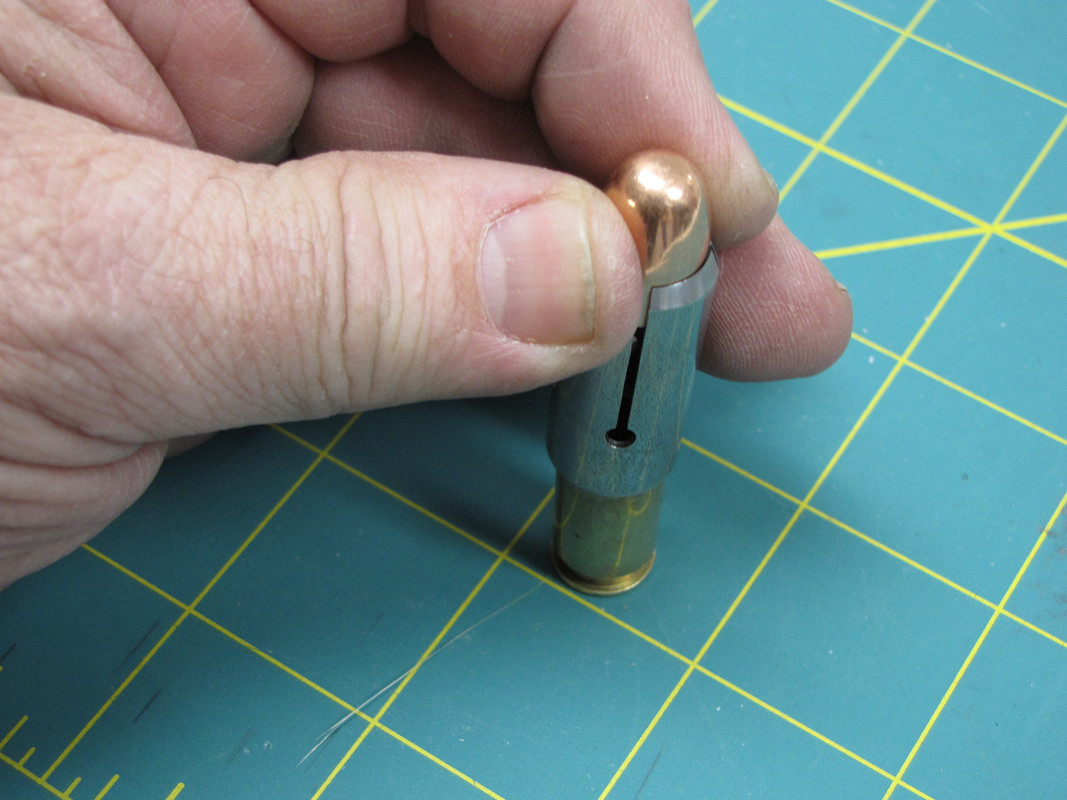
This is all the stuff that comes with the tool...including the two dies I bought. The .45 cal. die is the one taken apart. This is a very simple tool...few parts compared to RCBS's version. Good and bad. Good because simple means not much to go wrong. Bad because you have no clear tube to see bullets coming...or not. Nor is there a micro-switch to detect a full tube and automatically turn the tool off. There is a switch behind the hopper. And you automatically reach out and turn it off....I guess when you quit hearing bullets clanking around in the hopper. Notice there is 3 spring tubes: .45, .40, and .38/9mm. On mine the .40 spring wouldn't even begin to go in my .40 die. I think somebody switched uppers on me (.38 upper screwed on to the .40 collets and lower die. Hornady has been emailed on that one.
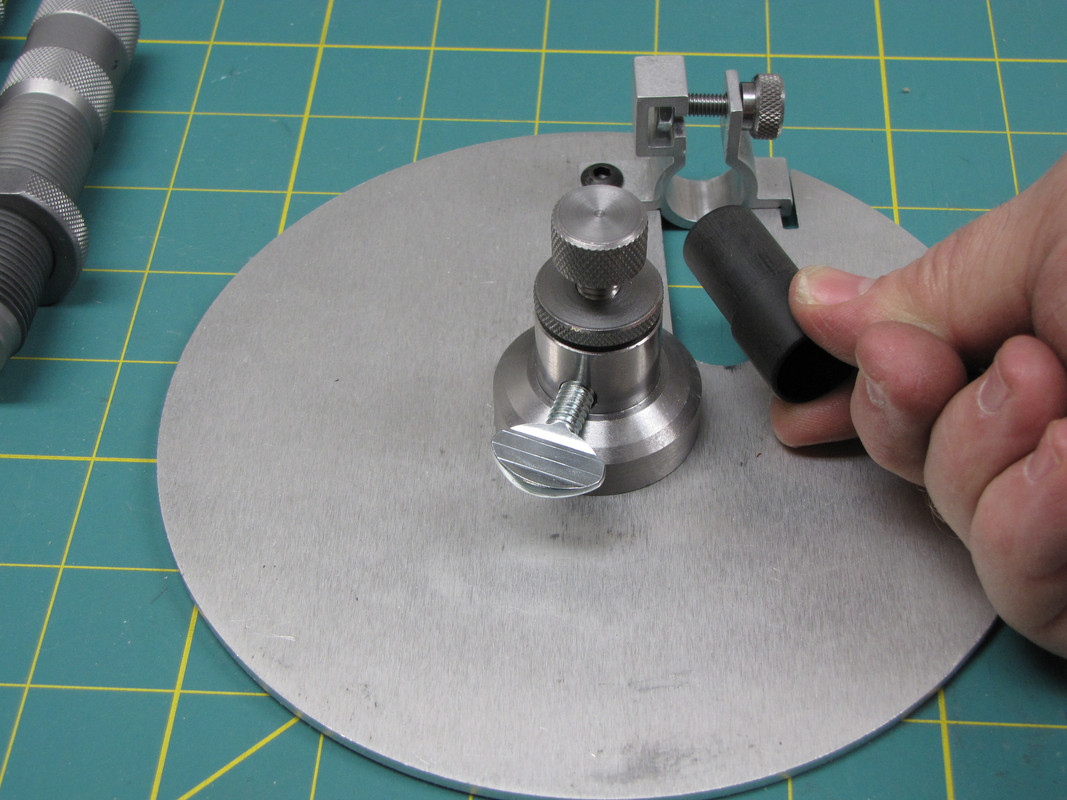
One of the best features of this tool is the quick caliber change. I'm holding the "Tube Bullet Drop Funnel." It goes into the Tube Spring Clamp at the top of the Turning Plate. You change Funnels, Tube Springs, and Dies to change calibers...no tools...just loosen the clamp and pull the Tube Spring and it's Drop Funnel and replace them. I like that but on my sample, I could see right away that speedy changes were not in the cards, unless I fixed a slight problem. The Tube Spring Clamp was too small a diameter. Yes I could push the funnels in, but getting it back off was an operation...sure didn't need the thumb screw to tighten it.
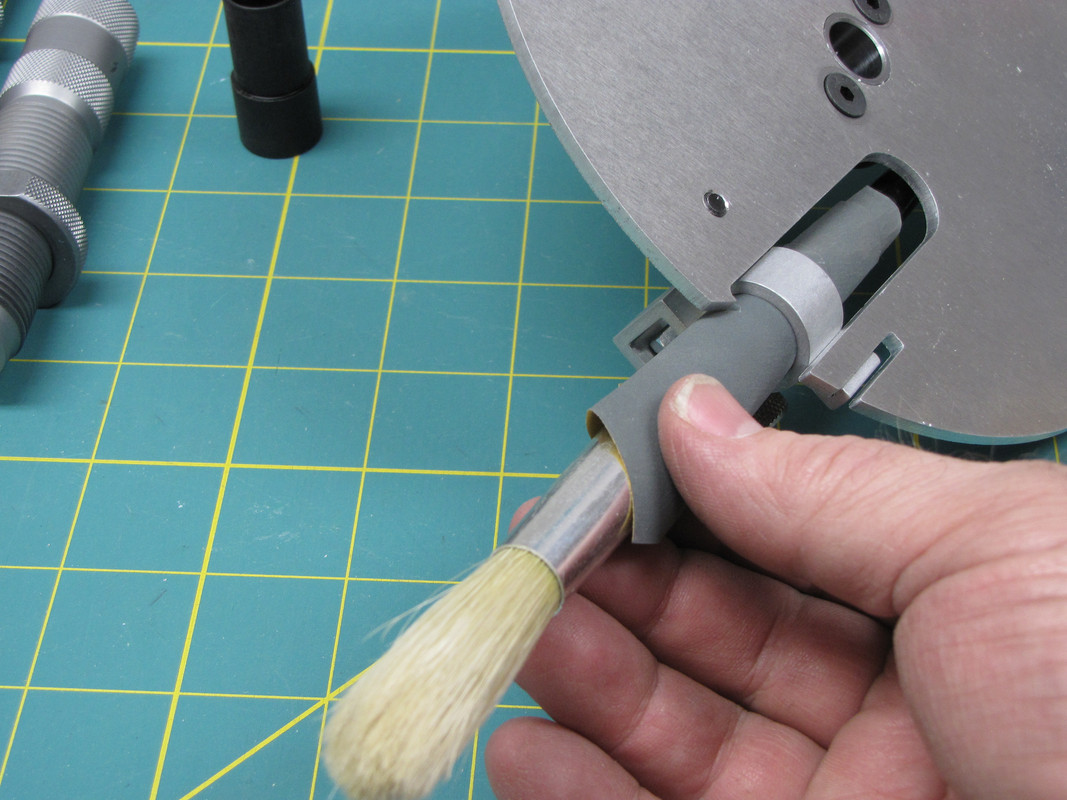
The problem was rough machining...the fix was 1000 grit sandpaper wrapped around a big sign painting bush. 5 minutes of sanding made it work nice and smooth....happy again.
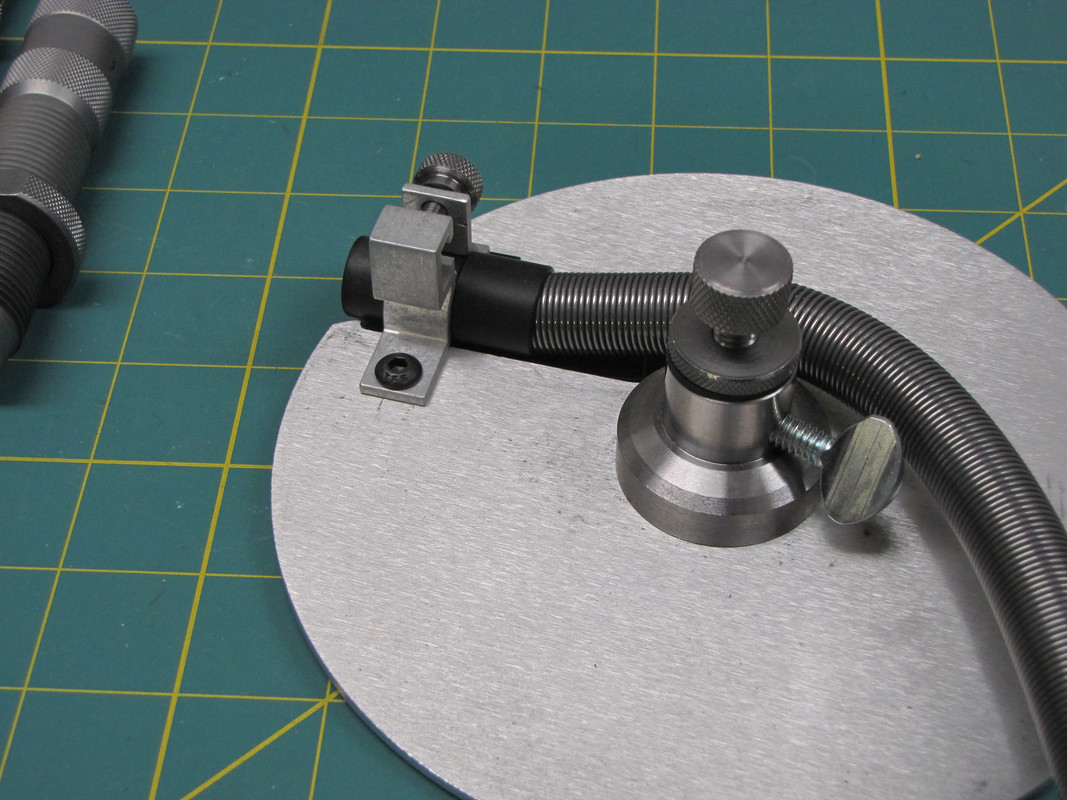
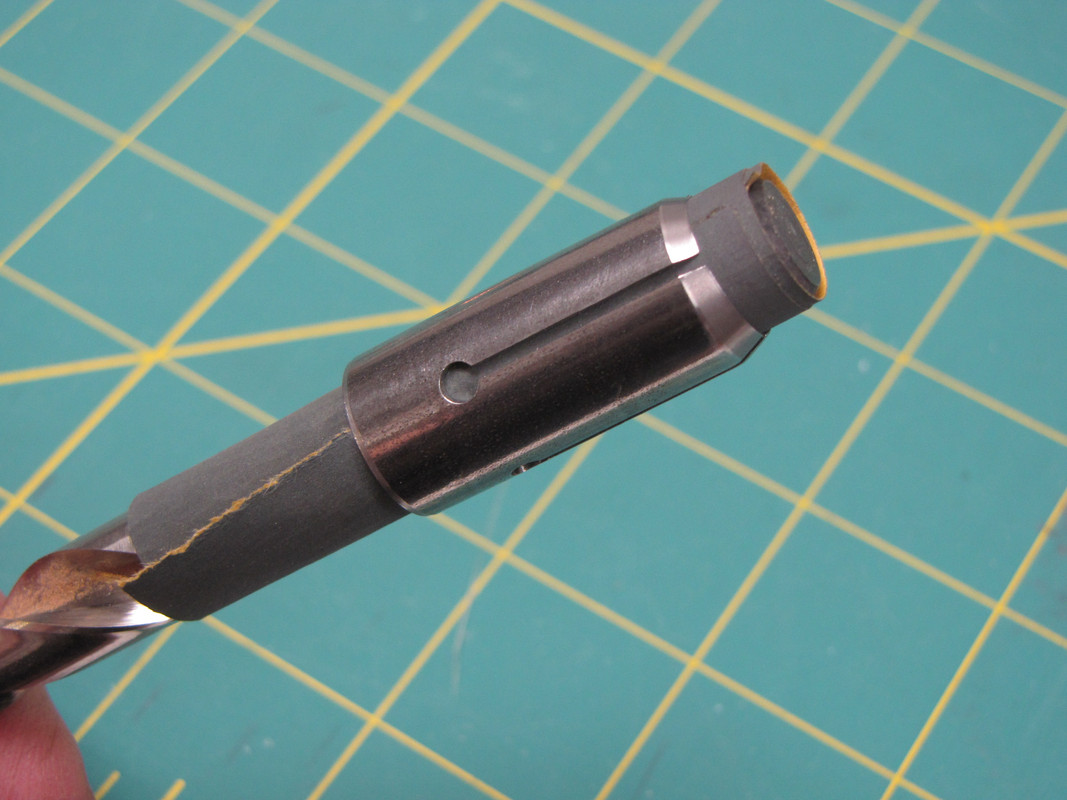
This pictures shows the top end of the spring tube and funnel in place.
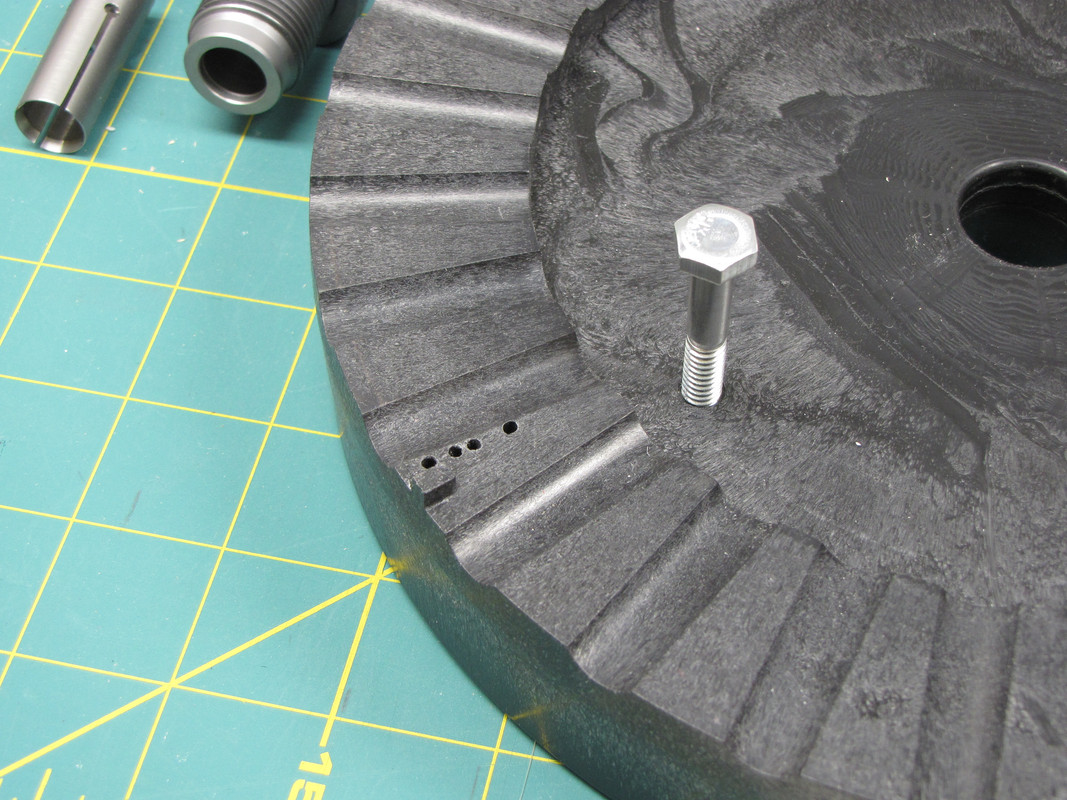
This is the bullet feed wheel damaged. Those little unsightly holes is how I made this tool feed better...patience. The 1/4"-20 hex bolt screwed in to the wheel, is not part of the tool either, but you need two of them to screw into the two holes Hornady provided, to give you a way to lift the bullet feed wheel out of the hopper....and no Hornady does not clue you in to that in the owner's manual. Screw the two bolts in a quarter inch and then just lift...and out the feed wheel comes. It has a single gear under it that meshes with the two gears you see in the second picture. Again simplicity.
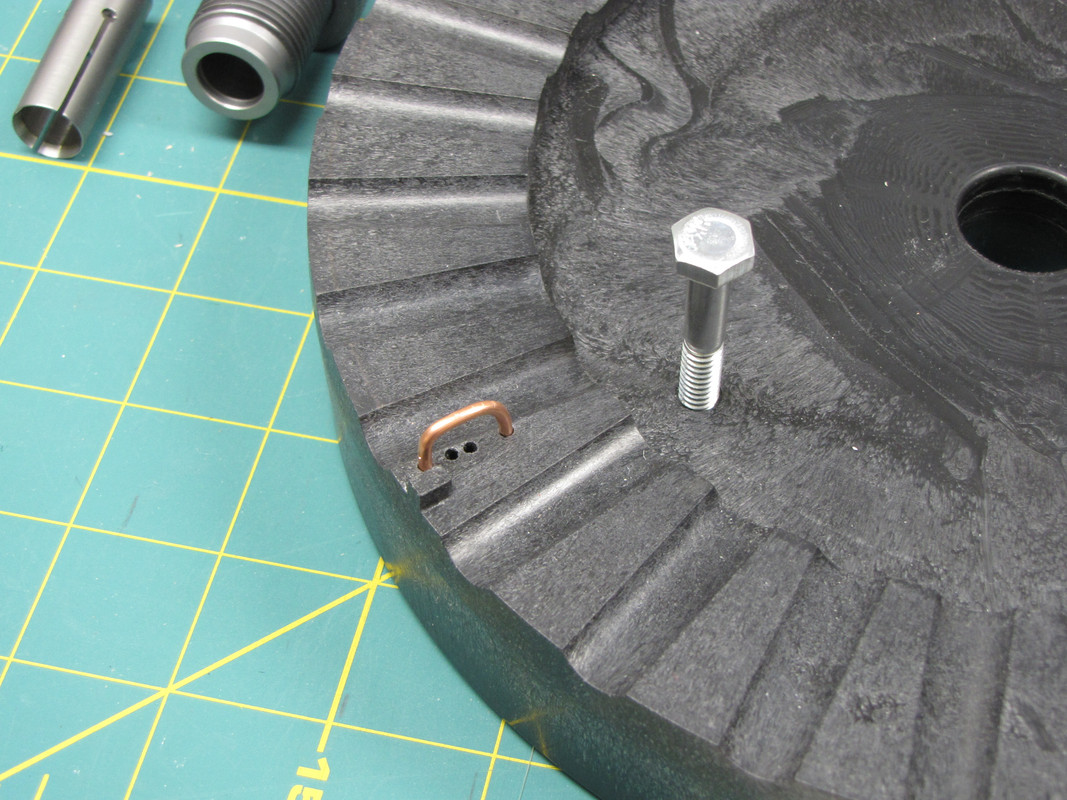
Don't laugh...this is the high tech mod that makes this baby feed to the last bullet with no wrong way feeds. Notice the molded block in front of the mod. That's Hornady's...it don't work worth a darn. the reason for all the holes is the stupid .40 caliber bullets. The first two holes worked fine for .45. I could drop 10 RN bullets in the hopper, turn it on, and in 60 seconds they were gone...and all dropped the right direction. .40 cal bullets were too light. They'd turn and fall out of the groove...so I added another hole further down...nope...but the third hole was the charm. At the widest span 10 of the .40 cal. bullets would feed in 60 seconds...to the last stupid bullet! With the wider span the .45's now feed 10 in 45 sec. Don't tell anyone my trade secrets (riiiight)...the wire is 12 gauge electrical copper, and the holes were drilled with a 5/64th's bit. Starting from the outside edge of the wheel, make a mark 3/16" in and the other 3/4" in. Both measurements from the outside of the wheel. Height of the mod off the wheel flat is about a 1/4." IMPORTANT...don't drill the holes right on the edge of the groove, stay back the thickness of the wire. That is...from the edge of the groove to the center of the holes is about a 1/16th. If you ignore that advice the wire will knock more bullets off than it will feed. You need two of these "bullet stops"...on the leading edge of both of little boxes Hornady made. Study the pictures. BTW no need to glue them in. Friction fit is great...and you can take them out anytime you want.
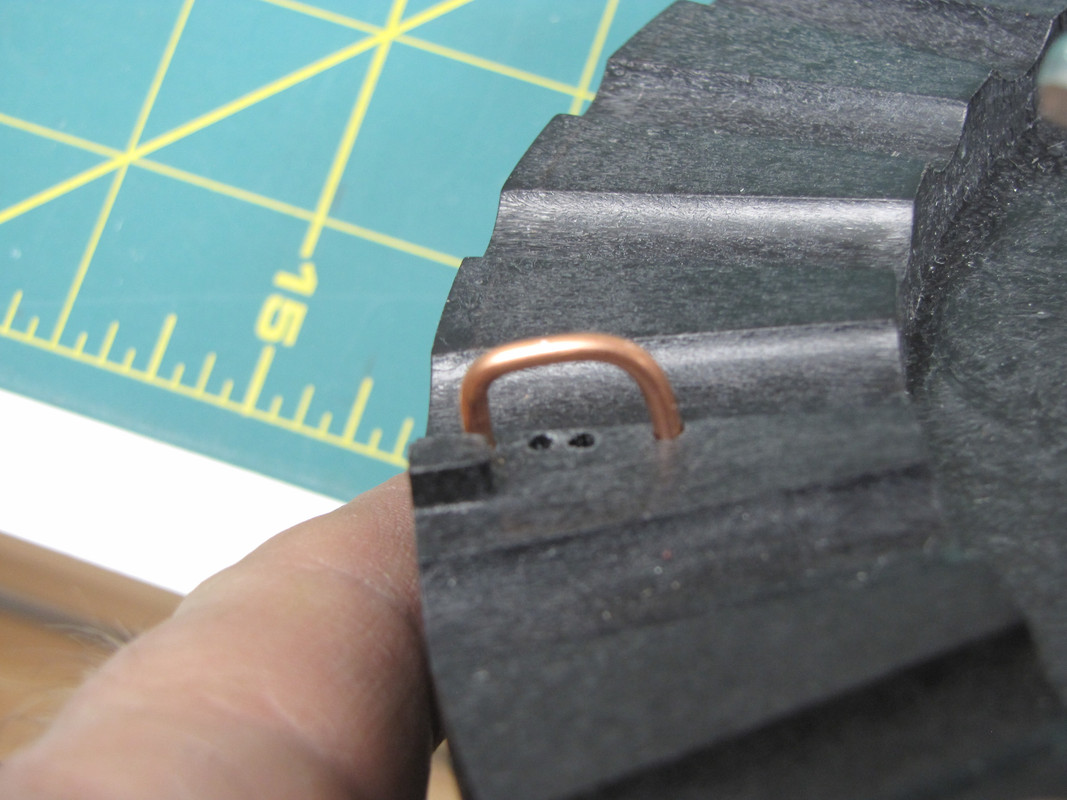
Just a Close-up.
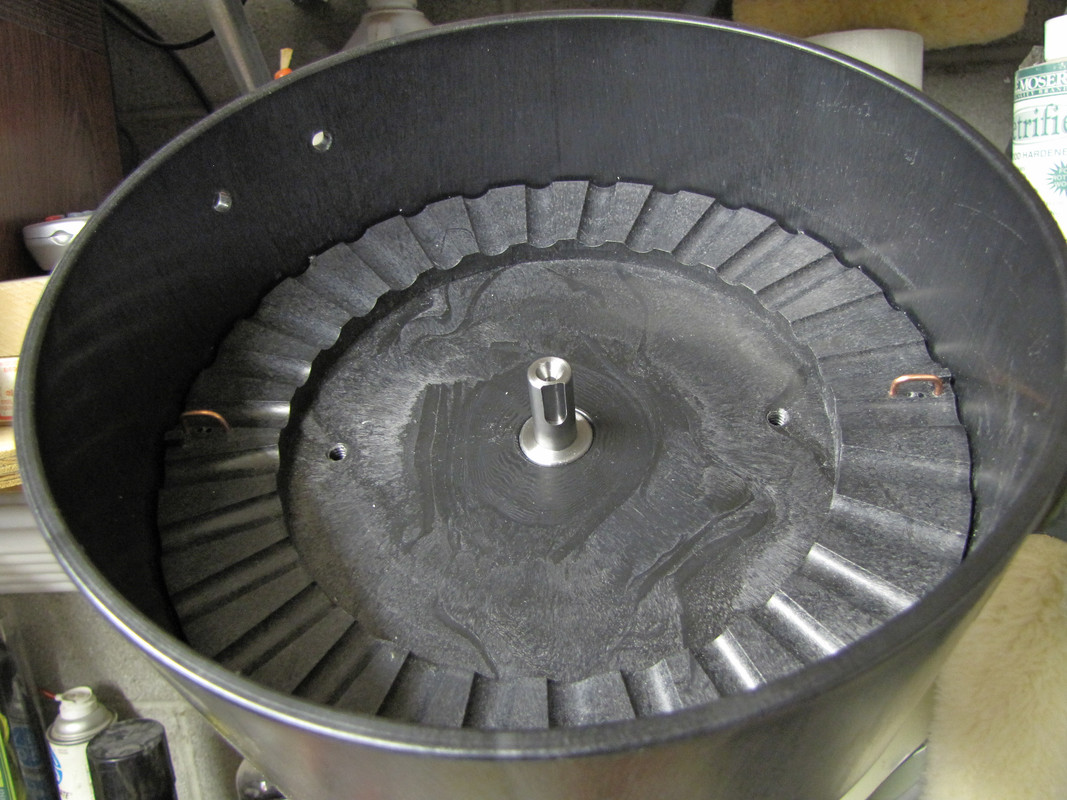
Three things to see here...the two threaded holes Hornady provided for the bolt "handles" to remove the wheel. The two brass mods. and especially notice the slot in the center hub. That slot is for the turning plate tightening screw to go in. Make sure when you replace the plate the screw is in the slot. To adjust the plate up and down you loosen that same screw, Loosen the height adjustment screw's lock nut, then screw in the adjustment screw to raise the plate enough to catch the bottom of your bullets, but not so much to catch the bullet nose. Instructions are adequate on that.

Not necessary, but I prefer to screw on the spring tube to the funnel first, before I push it into the clamp and tighten. Funnel has to be pushed in just shy of touching the wheel...no more and no less for problem free feeding into the tube. Touch the wheel and you'll know it...its like a badly distributed load in a washing machine.
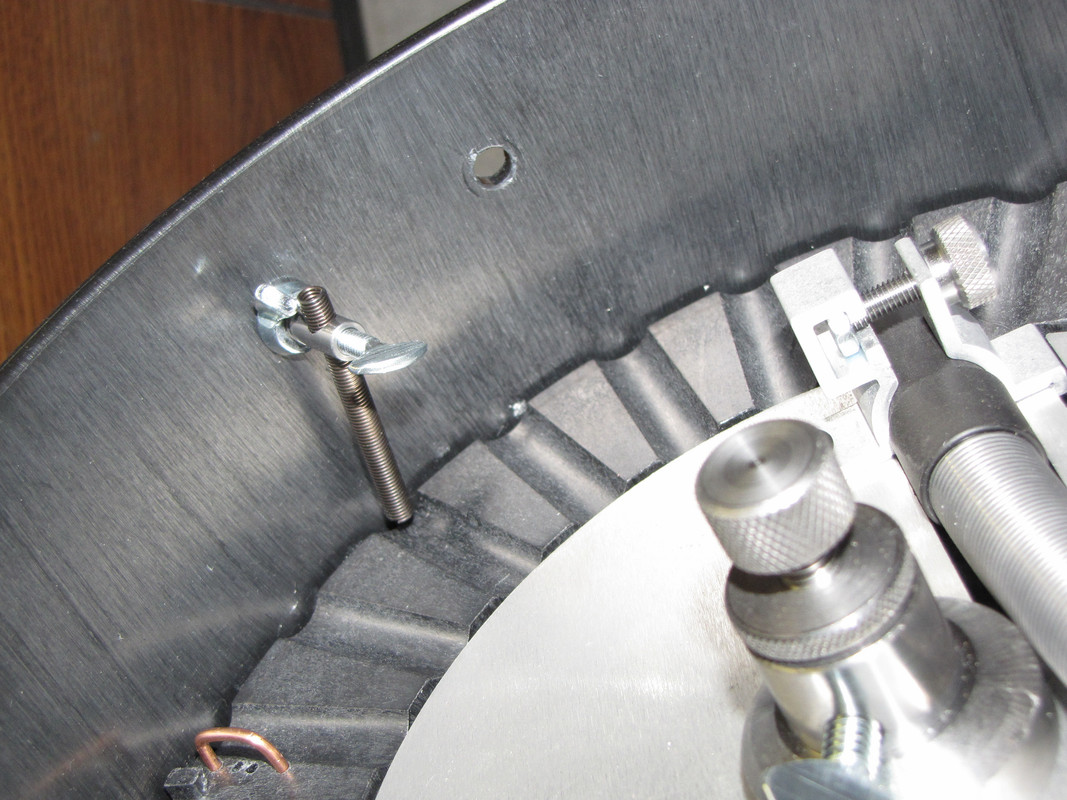
The first sweeper is screwed on....directions are pretty good here...it works if you follow them, however with the mods ("bullet stops") in place the first sweeper works best as tight to the out side wall as you can get it and still hit the doubled bullet. (bullet on top of another bullet)
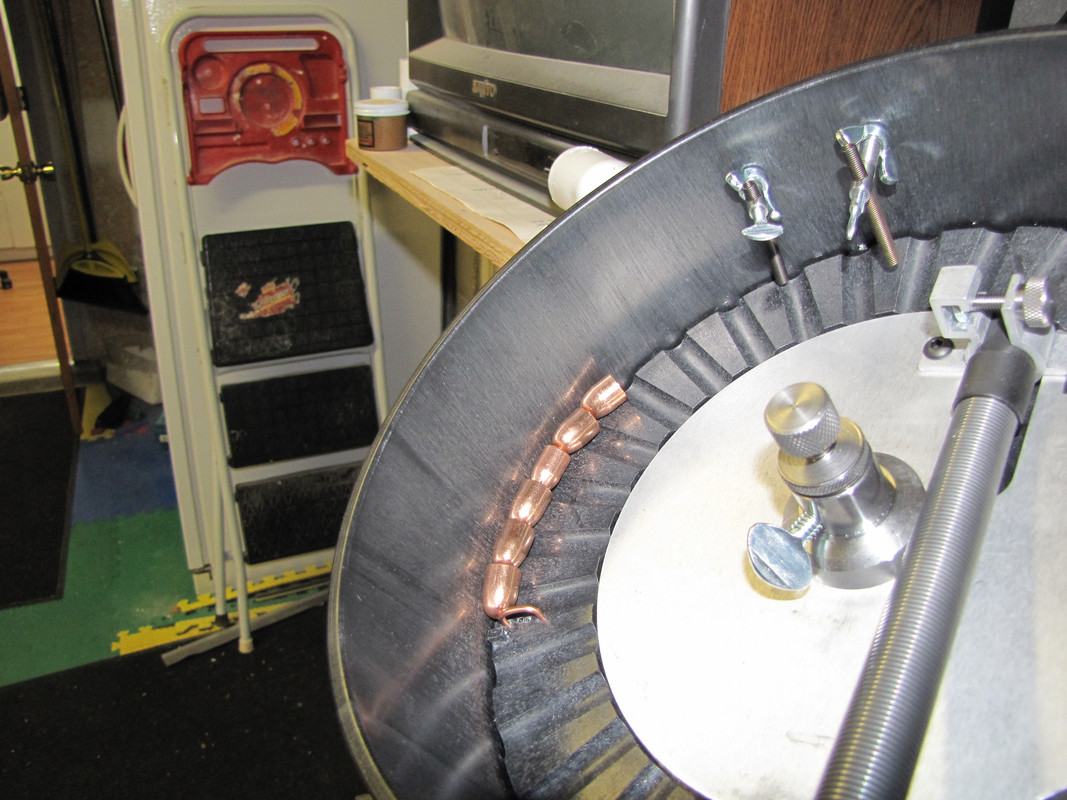
Notice all the bullets all lined up pretty...nose down? You see that more often than anything else. That's what gave me the idea to add those wire stops. The bullets stop against it, and as the wheel turns and the bullets rise, they turn base down. Works!
One thing I did to improve things is to carefully smooth the wheel's flats and grooves with 4-0 steel wool and 1000 grit sandpaper. Steel wool in the grooves, careful not to round the edges, and blocked sandpaper on the flats. Purpose? There's too much friction holding the bullets up just to get swept off too often by the sweepers even though the bullets pointed correctly. Once I smoothed it, and then applied a light coat of paraffin, and buffed it, it really helps...especially with the light .40's.
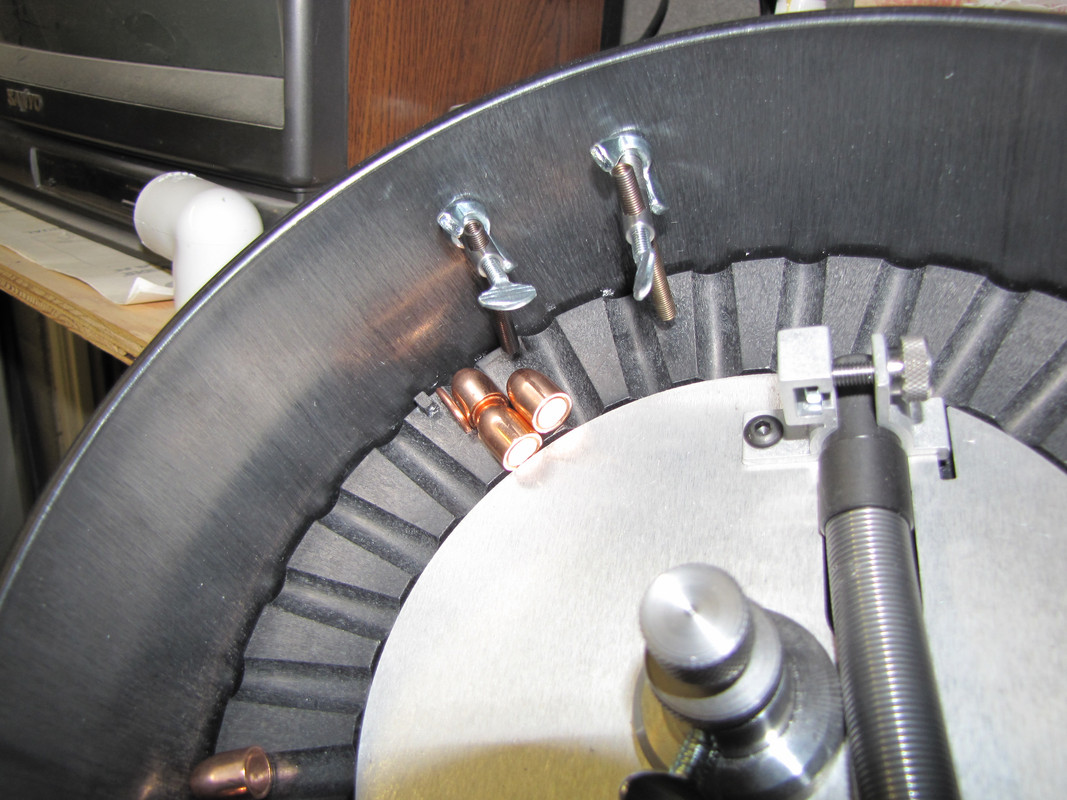
A fraction of a second past the last picture...notice several turned correctly to be fed. Sometimes they all feed sometimes only one.
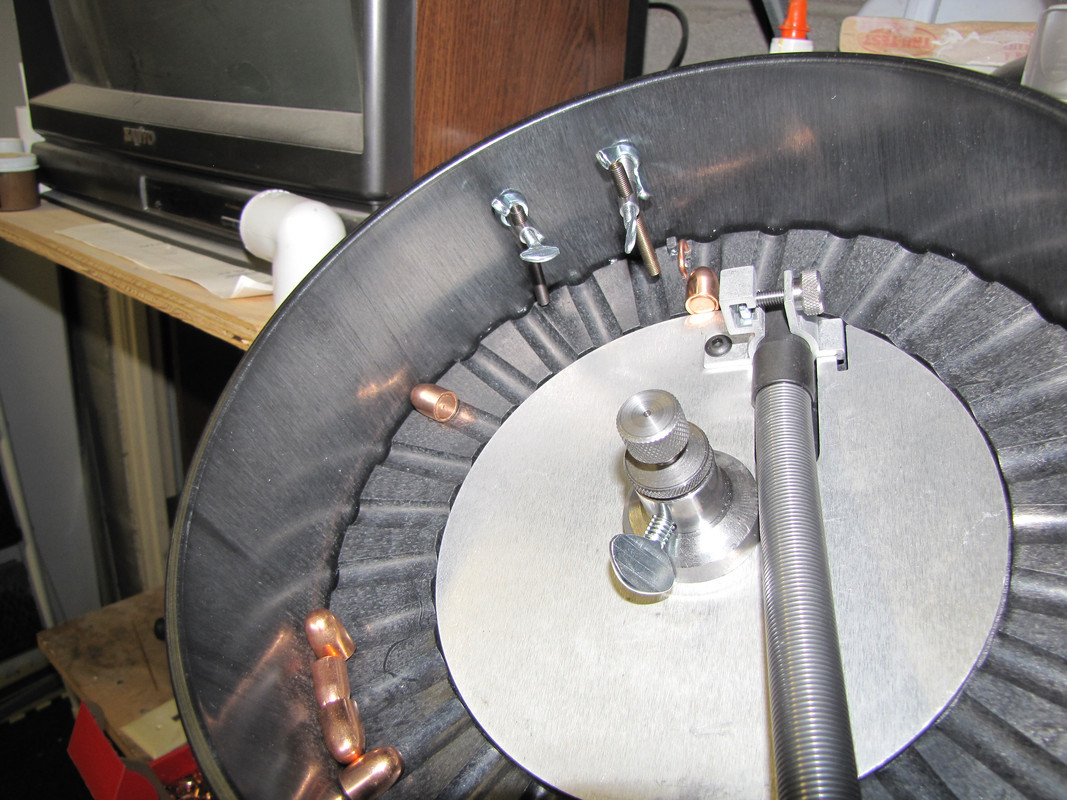
A fraction of a second past the last picture....this time only one made it. It's like pool balls. One hits another and they both are deflected. Yet by two more rotations, 4 more fed....another rotation...empty.
I will add more pictures and info about the dies and how they work.....they work better than I thought they would.
Following that...I will mount to my press. (This was all post 2 years ago on another forum)
More coming:








 My daughter came from Missouri, my son and grand son, my wife and I had a nice dinner of grilled "porter house" pork chops, corn on the cobb, my son, G'son and I share 10/5. G'son is 4 minutes early though @ 10/4.


 Pooh I hope you find to right house .

